How to protect access to TrustBuilder Admin portal with MFA
This document describes the set up to protect TrustBuilder Admin portal access with TrustBuilder MFA.
Two cases are identified:
the TrustBuilder. io tenant and the MFA tenant are not linked by SAML connectors → see Link the tenants
the TrustBuilder. io tenant and the MFA tenant are already linked by SAML connectors → see Configure users and access flow
Prerequisites
You should have:
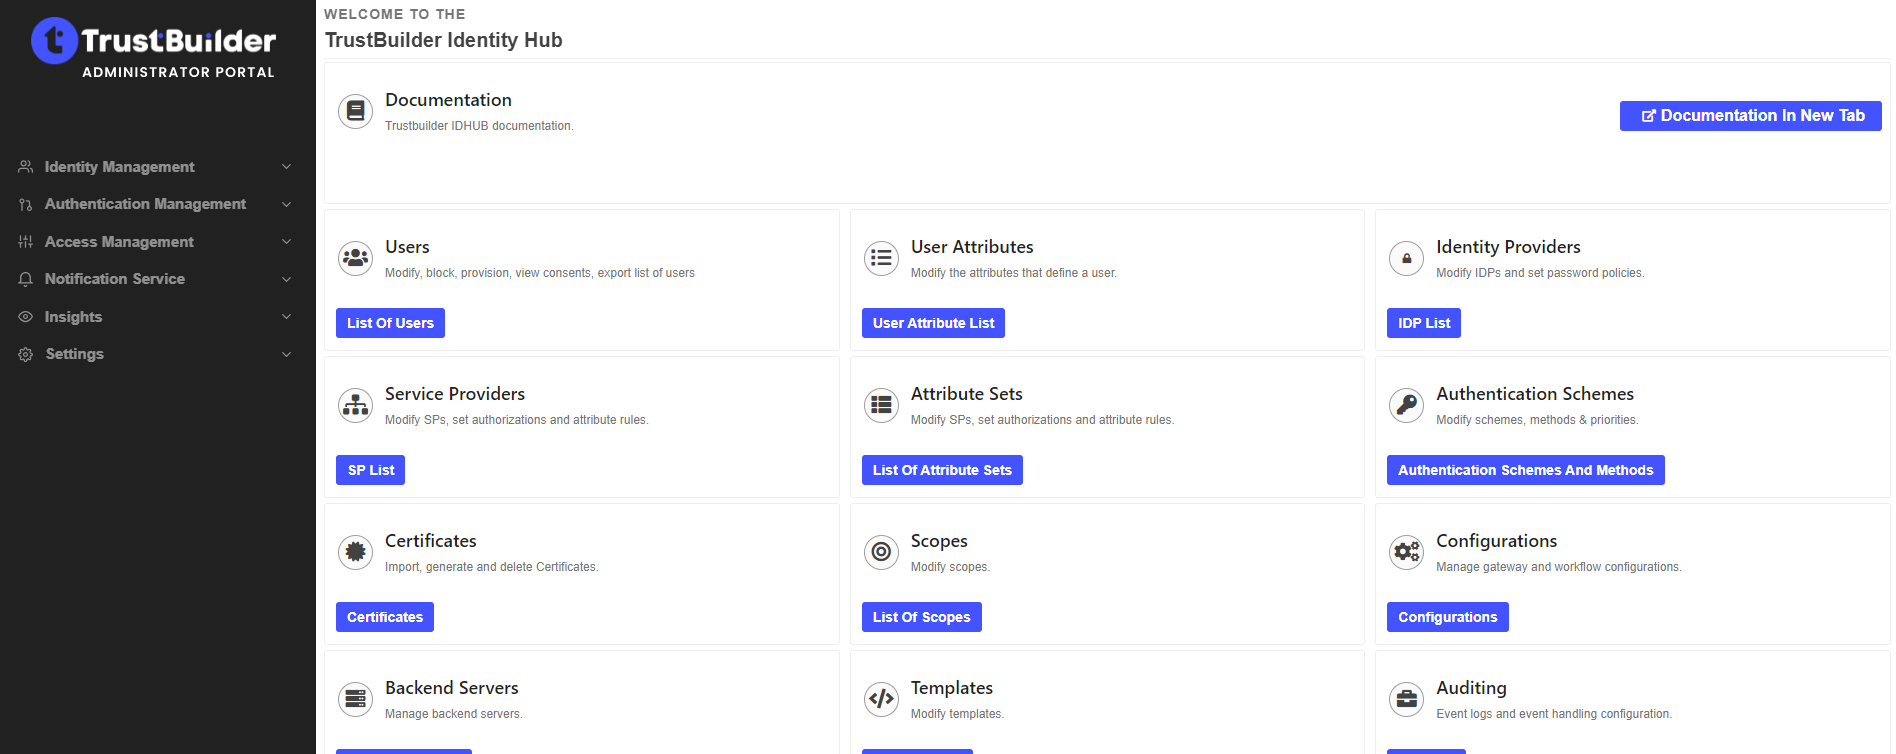
Access to TrustBuilder Admin portal with administrator rights.
Access to TrustBuilder MFA Admin console with administrator rights. As an admin, you should have at least one trusted device activated.
the same email should be configured for the user in both tenants (if “email” is used for authentication)
Link the tenants
In order to protect access to the Admin portal with MFA, the TrustBuilder. io tenant and the TrustBuilder MFA tenant should both be linked by connectors in order to be able to communicate.
If the tenants are already linked, you should go directly to “Configure users and authentication scheme”.
To link the tenants, follow these steps:
Create a SAML connector in MFA tenant
Retrieve the TrustBuilder MFA SAML metadata
Add an Identity Provider (IdP) in TrustBuilder tenant
Finalize the SAML connector
Step 1: Create a SAML connector
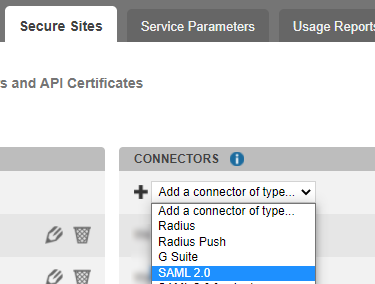
In TrustBuilder MFA admin console, go to the Secure Sites tab.
In the "connectors” section, click on Add a connector of type… and select SAML 2.0.
Name your connector.
Click on Add to create the connector. This will bring up other parameters.
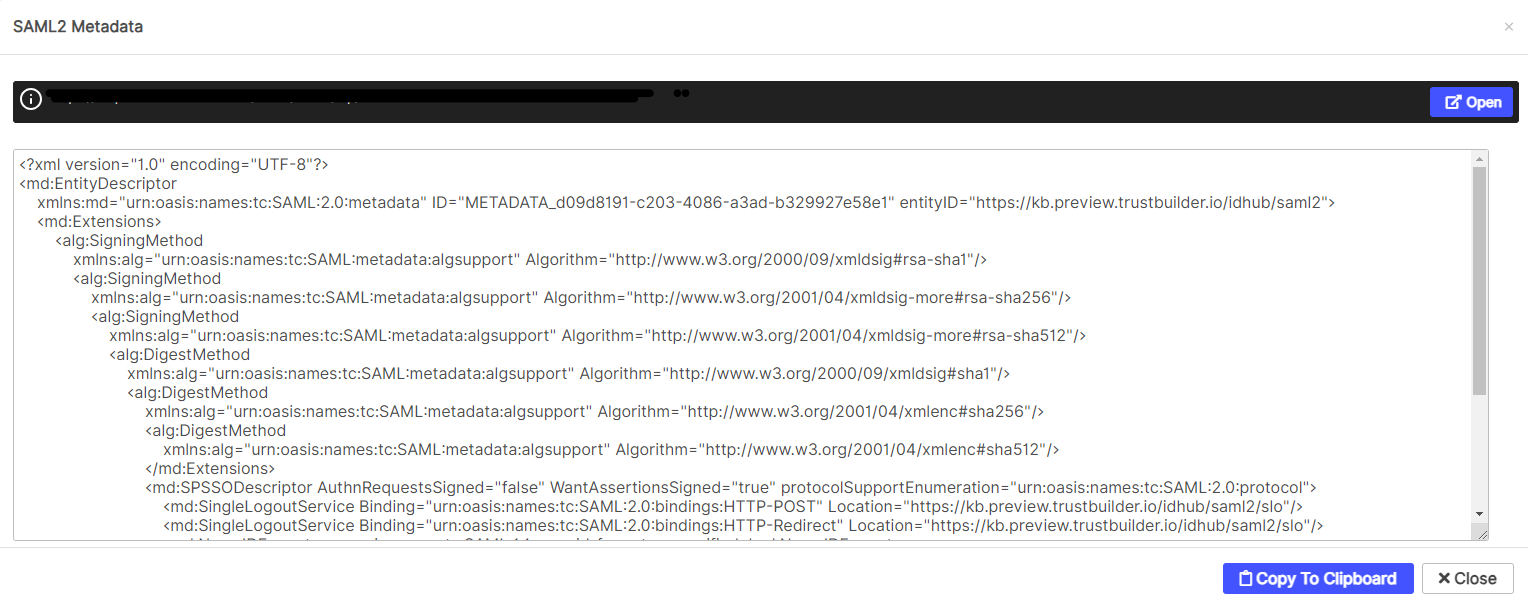
Step 2: Retrieve the TrustBuilder MFA SAML metadata
Click the link “Download inWebo IdP SAML 2.0 metadata in XML format“ and save the file.
Click the link “Download inWebo IdP SAML 2.0 certificate“ and save the file.
You will need them for configuration in TrustBuilder Admin portal.
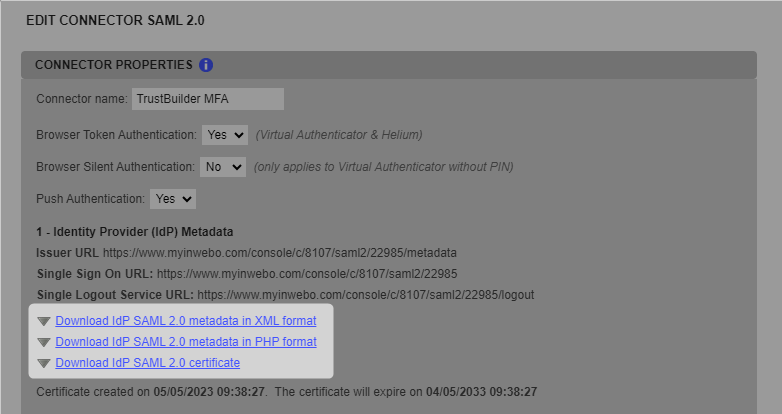
You will come back to this connector later to finalize it.
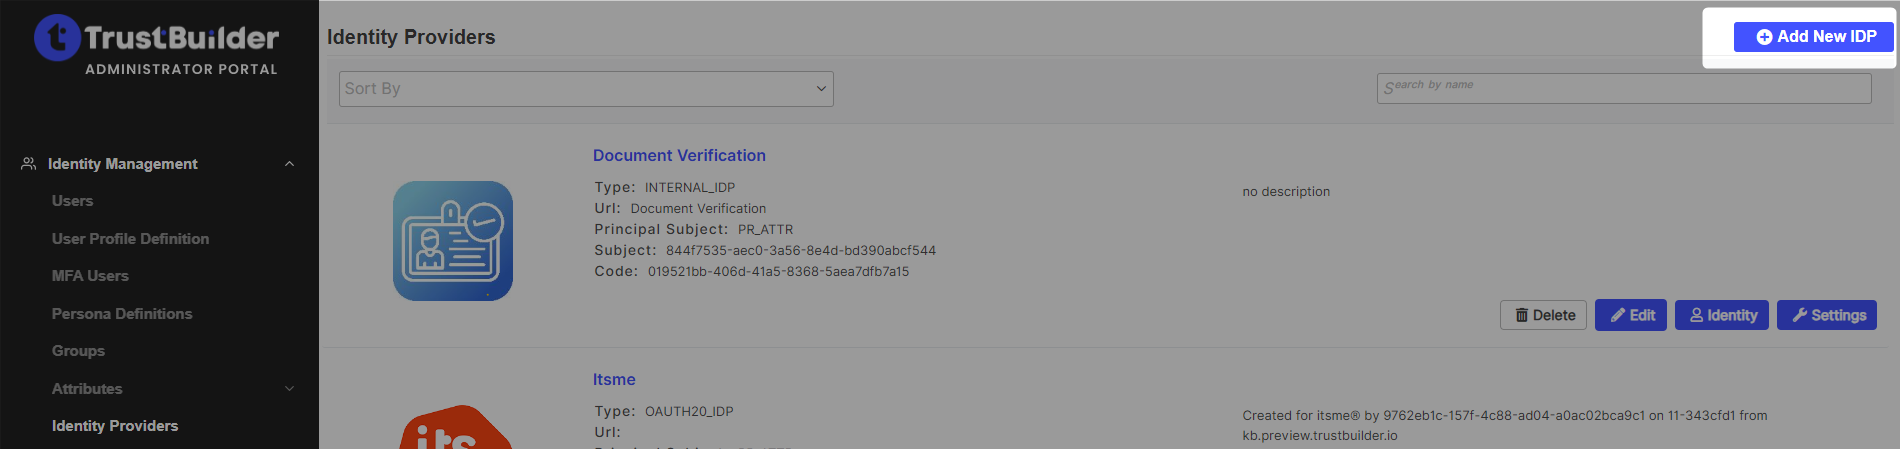
Step 3: Add an Identity Provider (IdP)
In the TrustBuilder Admin portal, go to Integrations > Identity Providers.
Click on + Add New IDP
Click on Custom SAML IDP

Define a display name: TrustBuilder MFA.
You can also add a description.Select the Subject of the SAML request. Select Email in Common category.
The SAML subject identifies the user whose identity is being asserted by the identity provider. In our case TrustBuilder MFA is the IdP.
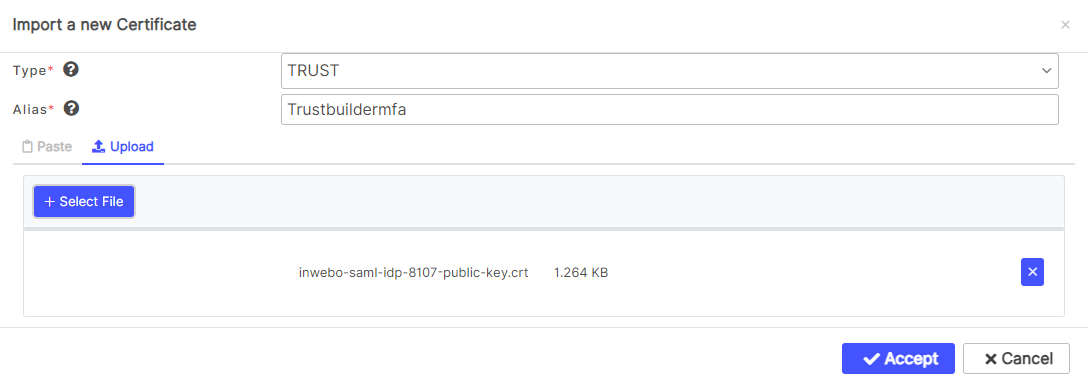
Click on Import Certificate.

Select a Type “Trust” and fill in the “Alias“ field.
Click on Upload > +Select File.
Select the IdP certificate downloaded at step 2.
Click on Accept to import the certificate.
Select the Context “SIGNING (TRUST)”

Enter the Entity ID URL and the SSO location URL.
You can retrieve them in the IdP metadata file or in the SAML connector you created in the MFA console.

Issuer URL is the Entity ID URL
Click on Add SLO Endpoint.

In the location field, enter the Single Logout URL.
You can retrieve it in the IdP metadata file or in the SAML connector you created in the MFA console.Select “Binding“ as “HTTP-Redirect”.
In Post Profile Template select Default SAML POST page.

Click on Save & Close.
The TrustBuilder metadata appear. Select “Copy to Clipboard” to copy them and “Close”.
Step 4: Finalize the TrustBuilder SAML connector
Go back to TrustBuilder MFA Admin console and edit the TrustBuilder SAML connector.
Paste the TrustBuilder metadata into “Metadata Service Provider (SP)”
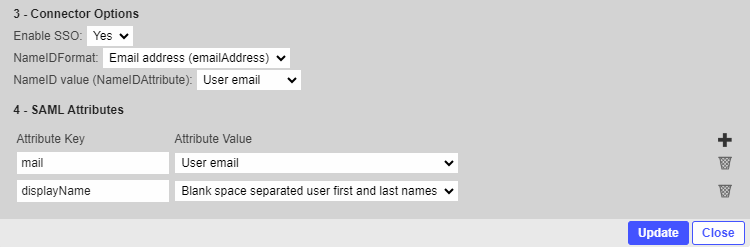
In the section “Connector options”, select the option:
NameIDFormat → Email Address
NameID value” → User email
Click on Update to save and click on Close.
If not automatically created, add the Secure Site associated to the connector (Secure Sites tab > Add a Secure Site of type … > Select your connector’s name).
The called URL should match the URL of your TrustBuilder instance.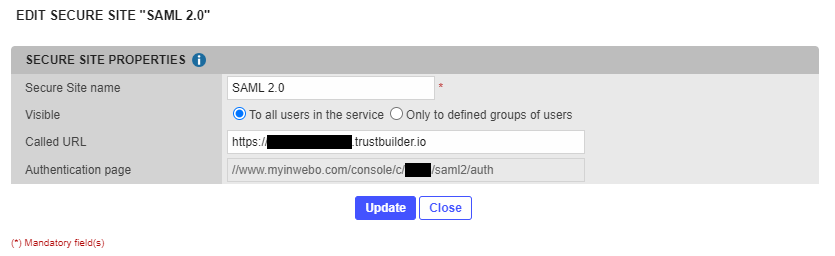
Configure users and access flow
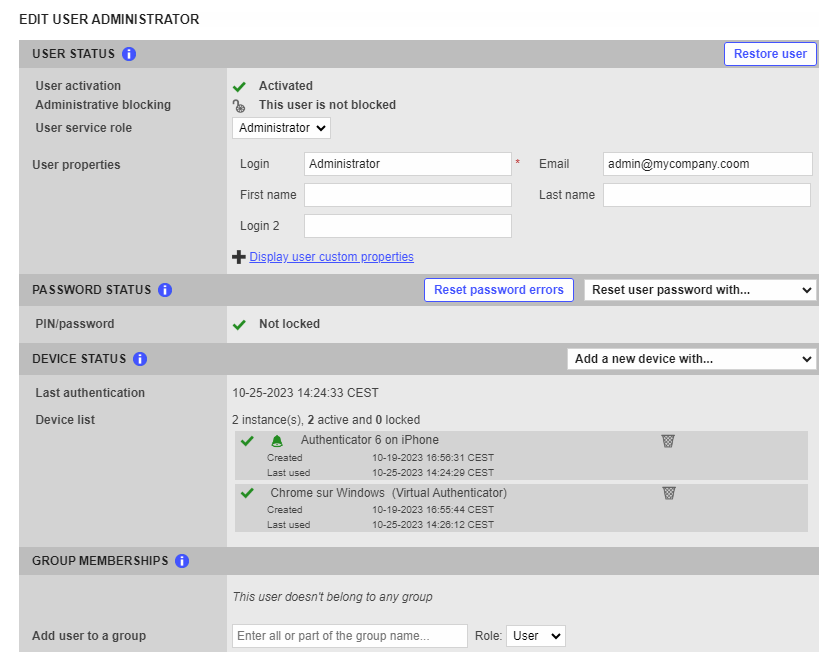
Step 5: Check the user emails
This step should be performed for every administrator who will access the Admin portal with an MFA protection.
In MFA Admin console, check the user email.
In TrustBuilder Admin portal, go to Directory > Users
Click on Edit for the relevant user.

In the General tab, edit the email to match the one defined in the MFA tenant.
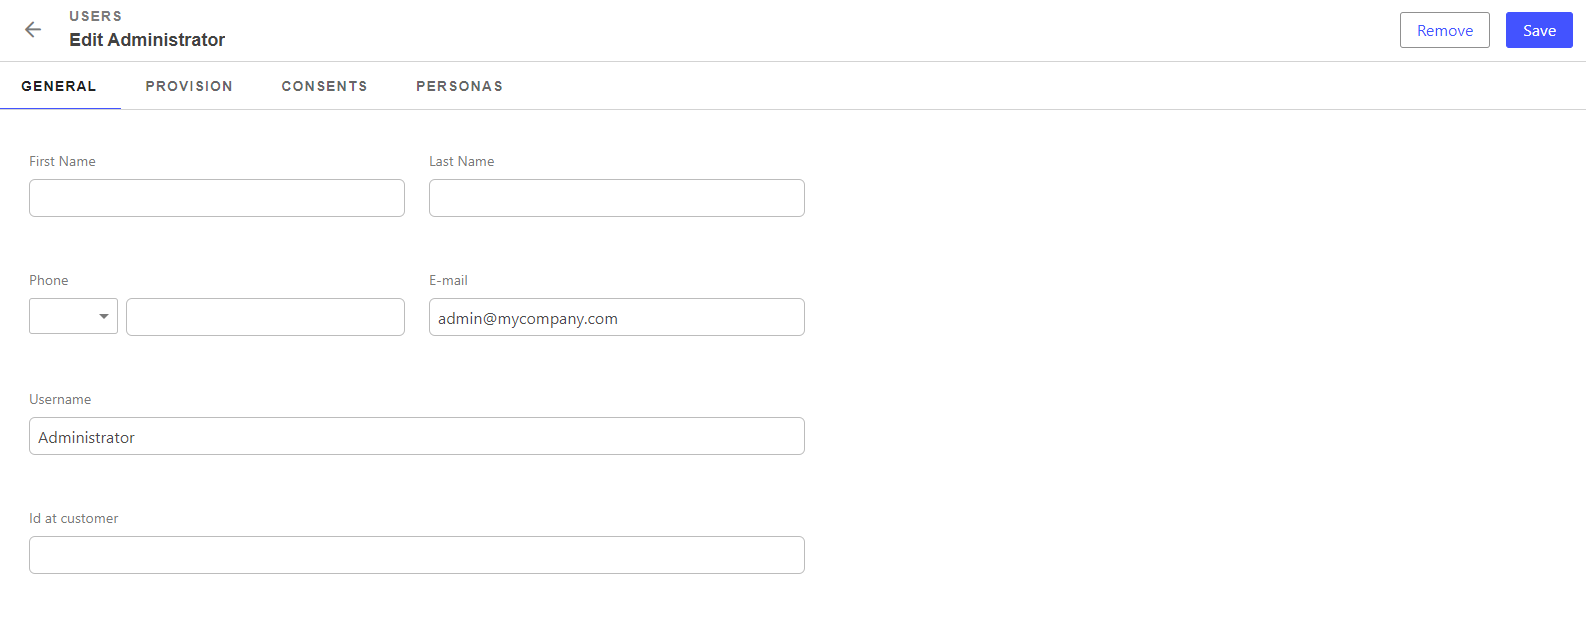
Click on “Save And Close”
Step 6: Configure the access flow
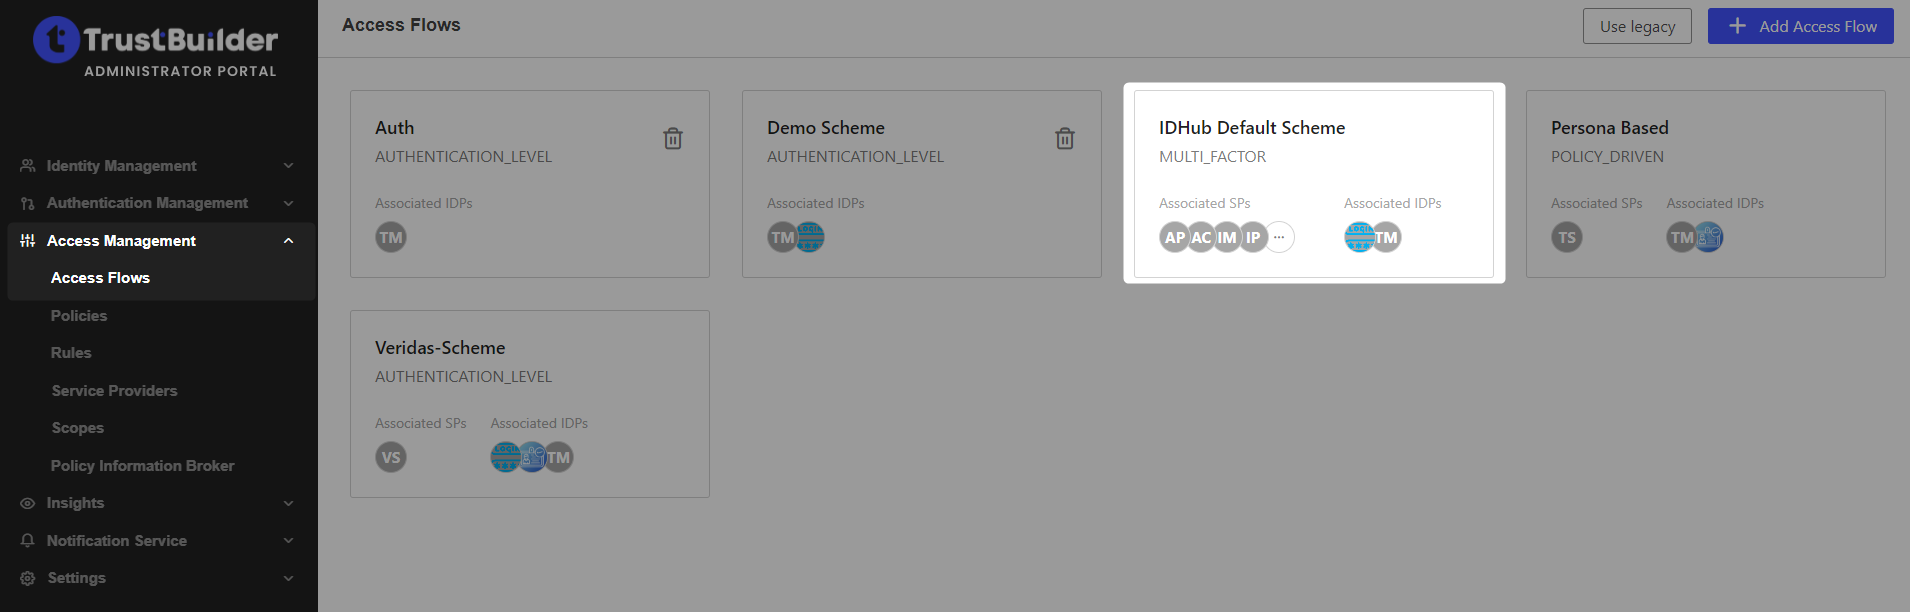
In TrustBuilder Admin portal, go to Access Management > Access flows.
Edit the IDHub Default Scheme.
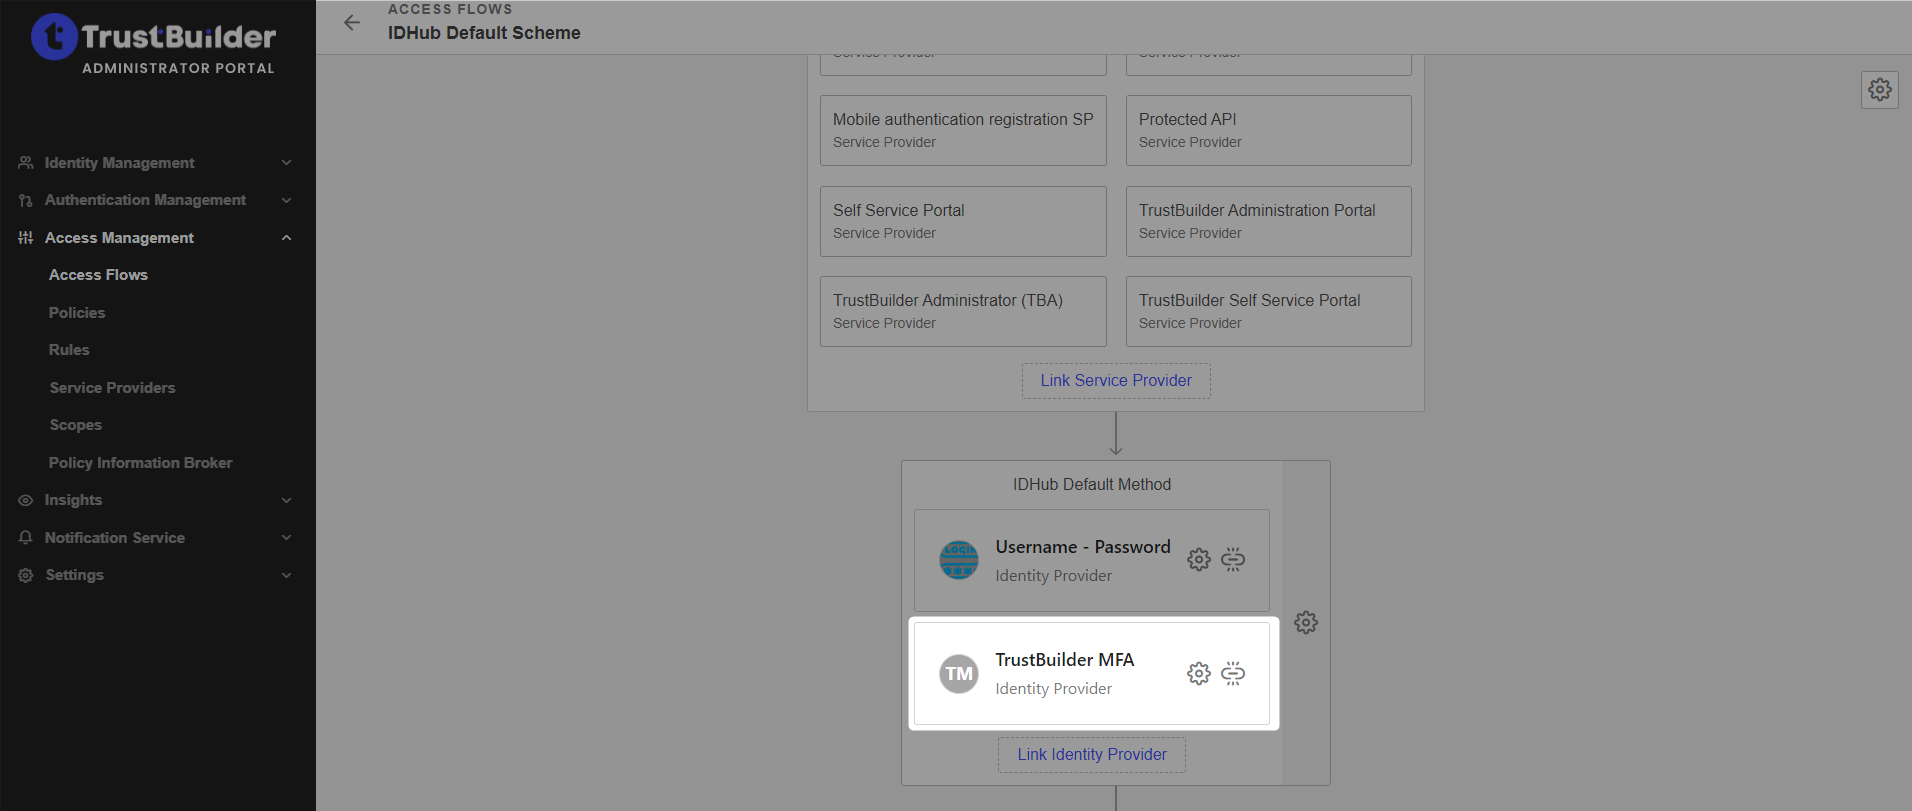
Click on Link an Identity Provider.
Select TrustBuilder MFA to add it to the access flow.
Click on Save.
Test access to Admin portal with MFA
Prerequisite
The user performing the authentication test should have at least one MFA trusted device activated.
Log out or open a new incognito window in your browser to avoid having to log out.
Go to the URL of your TrustBuilder instance. https://yourcompany.trustbuilder.io/
You should be able to choose between two sign-in methods:
TrustBuilder Repository, which is the default IdP
TrustBuilder MFA, which is the Identity Provider previously configured and added into the Access flow.
Choose TrustBuilder MFA to test the MFA.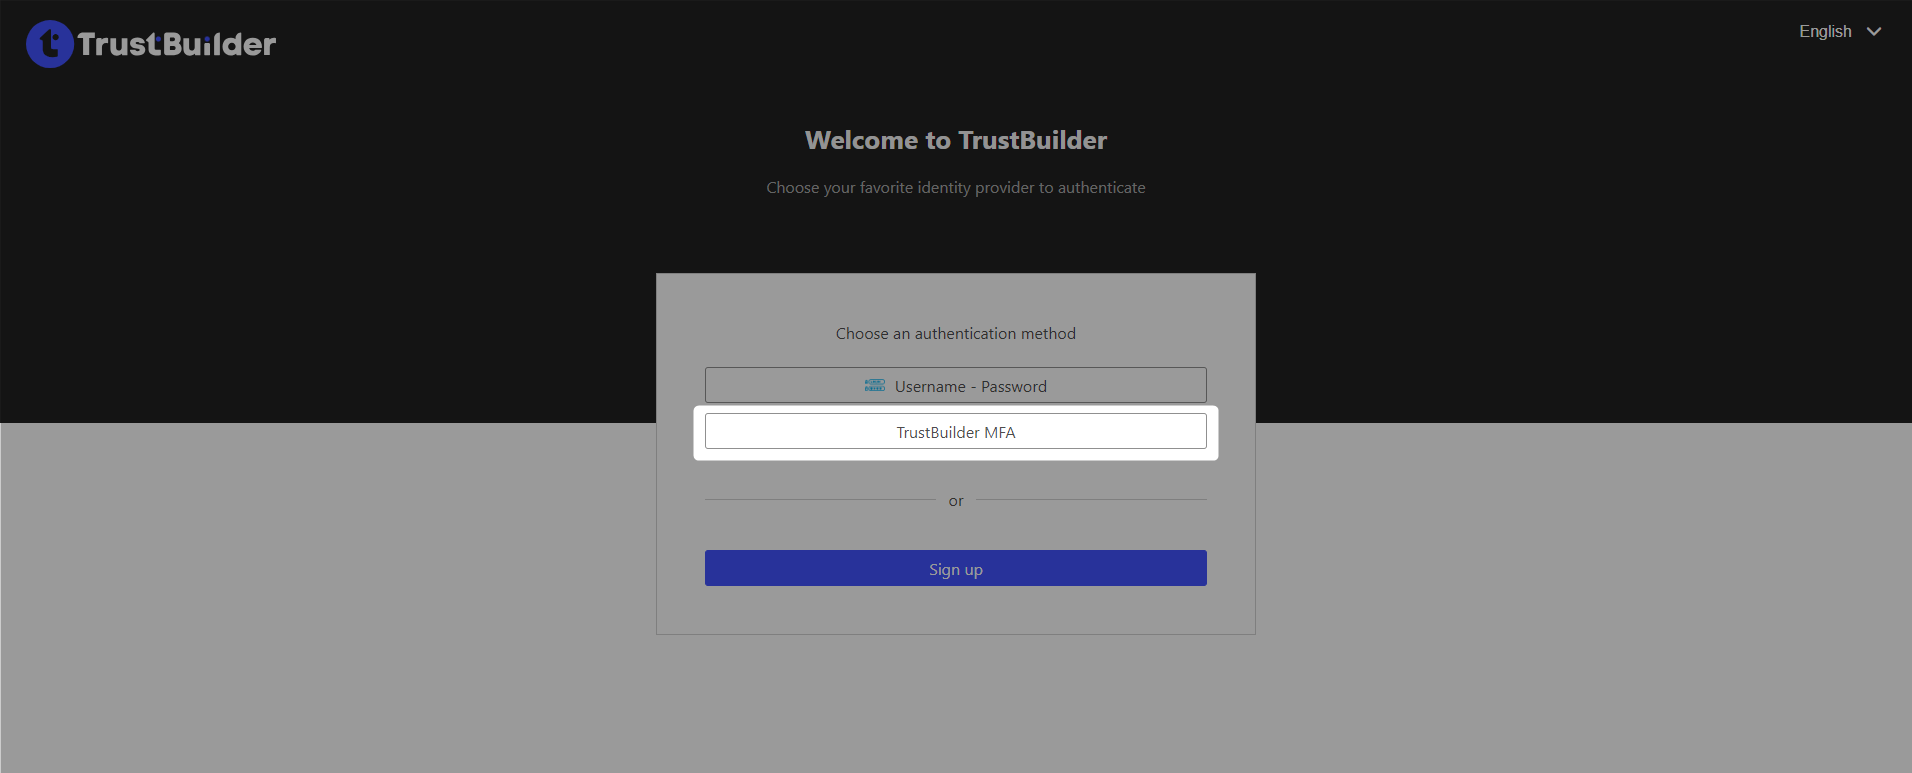
Authenticate with TrustBuilder MFA.
The flow is different depending on the MFA trusted device used (mobile, desktop or browser token) and the multi-Factor authentication method chosen. See https://docs.inwebo.com/documentation/multi-factor-authentication-methodsAfter a successful authentication with TrustBuilder MFA, you access the Admin Portal.
If you encounter any problems, check the prerequisites and go through the configuration steps to see if anything is missing. Then try again.
Disable TrustBuilder default sign-in method
Be aware that at this stage you will change the TB administrator connection. If something is not correct you may not be able to connect anymore
Please carefully review the previous steps and and be sure to keep an administration session open in a browser before proceeding
In TrustBuilder Admin portal, go to Access Management > Access flows.
Edit the IDHub Default Scheme.
Click on the link icon remove “User Password” of the access flow.
Click on Save.