User management
Create a user
Go to Directory > Users.
Click on + Add User.
Fill in the user information:
Email
First Name
Last Name
Username (must be unique across the tenant)
Click on Save.
The user is successfully created.
Depending on the enrollment policy:
the user will receive an email to activate their account.
Or you can generate an enrollment link and provide it to the user manually.
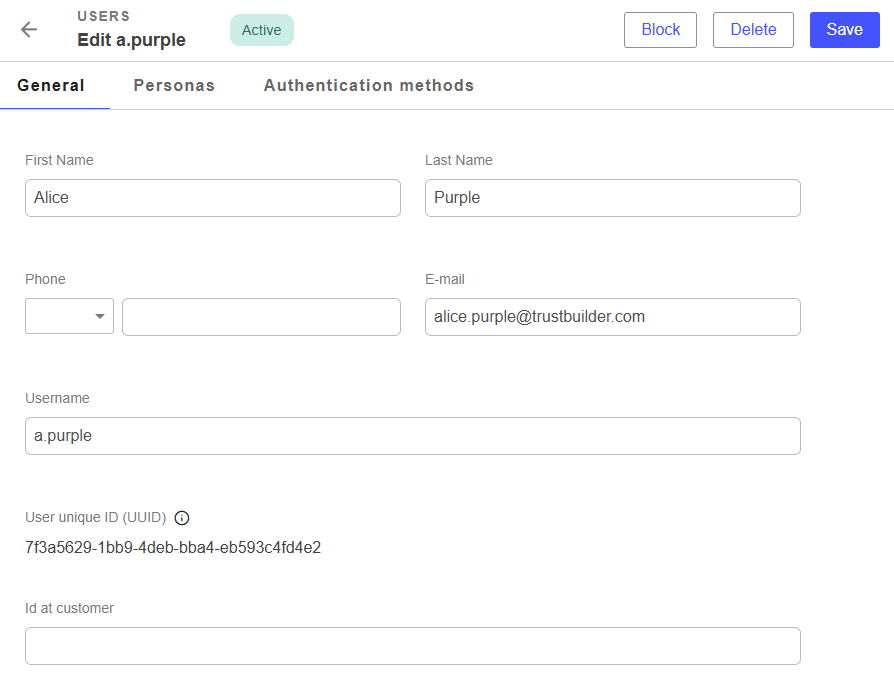
After creation, you can edit the user to:
Add personas
Manage authentication methods
Generate reset codes
Block / Unblock a user
To block / unblock a user from the admin portal:
Go to Directory > Users
Click on the relevant user (or on the three dots).
Click on Block/Unblock.
Confirm in the pop-up if you are blocking a user.
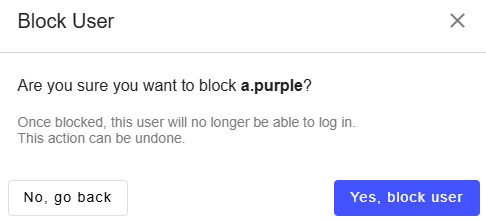
The user is successfully blocked/unblock. When blocked, users cannot log in until unblocked.
Delete a user
To delete a user from the admin portal:
Go to Directory > Users
Click on the relevant user (or on the three dots).
Click on Delete.
Confirm in the pop-up (Yes, delete).
The user is successfully deleted.
Manage users' personas
You can add a persona to a user.
From the admin portal:
Go to Directory > Users
Click on the edit button for the relevant user.
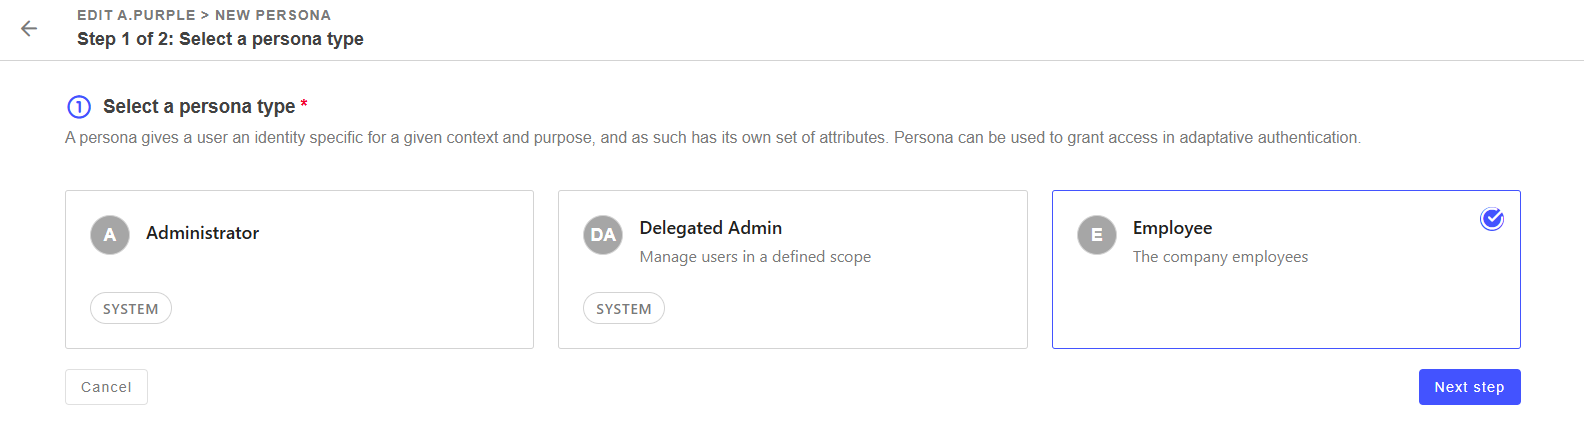
Go to Personas tab and click on +Add Persona
Select a persona and click on Next step.
You can:
Set the persona as preferred (the persona will be used by default).
Define a validity period.
Assign persona scopes (used with the delegated administration feature),
Add entitlements: information about the user that may affect access (subscriptions, permission sets, access groups, or application roles).
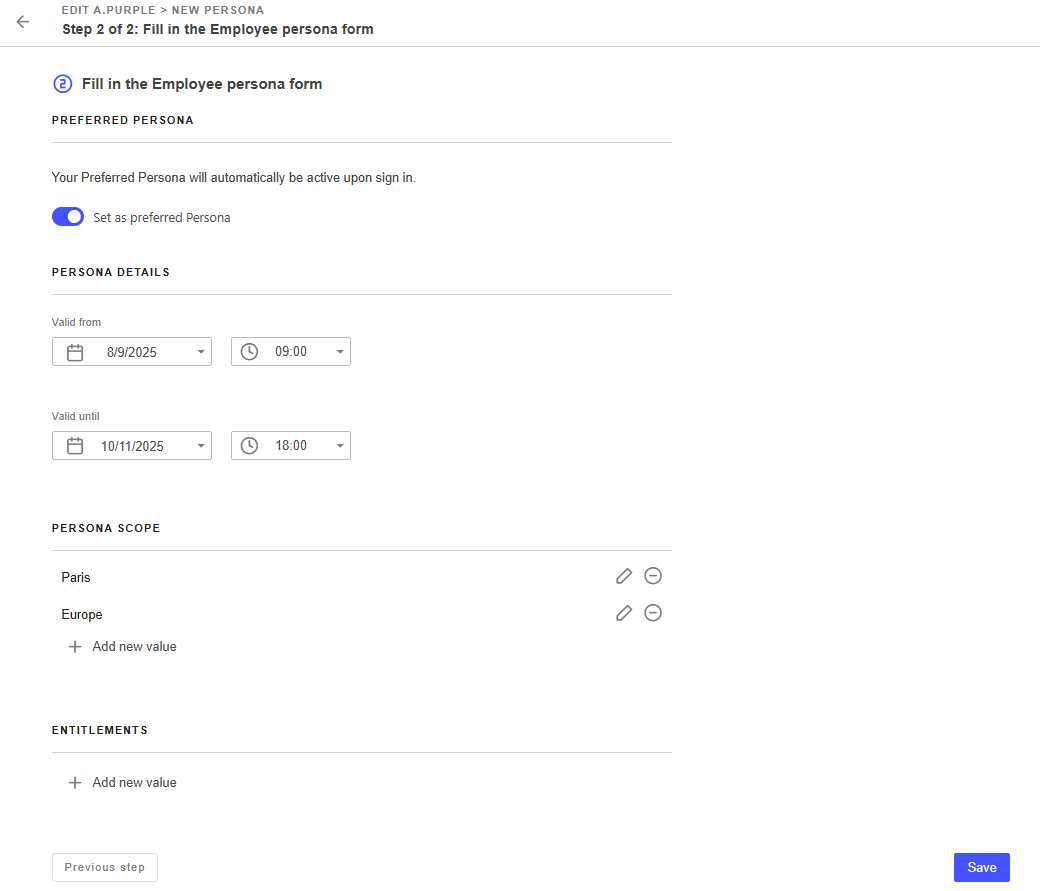
Click on Save.
The persona is successfully added to the user.
Manage users' authentication methods
Administrators can manage users' authentication methods. They can:
lock or unlock users' authentication methods,
delete users' authentication methods,
generate enrollment links,
To access a user’s authentication methods, go to Directory > Users.
Click on the user and go to Authentication methods tab.
Setting | Description |
|---|---|
Type | The type of authentication method (TrustBuilder Authenticator, FIDO2, External) |
Device name | Device name defined by the user |
Status | Current status of the device:
|
Last used | Last time the device was used for authentication. |
Registered at | Date and time when the device was activated. |
Additional information | Technical information about the device.
|
Lock / Unlock an authentication method
Go to Directory > Users.
Click on the user and go to Authentication methods tab.
Click on the three dots icon of an authentication method.
Select Lock (or Unlock).

Click on Yes, continue to confirm your choice.
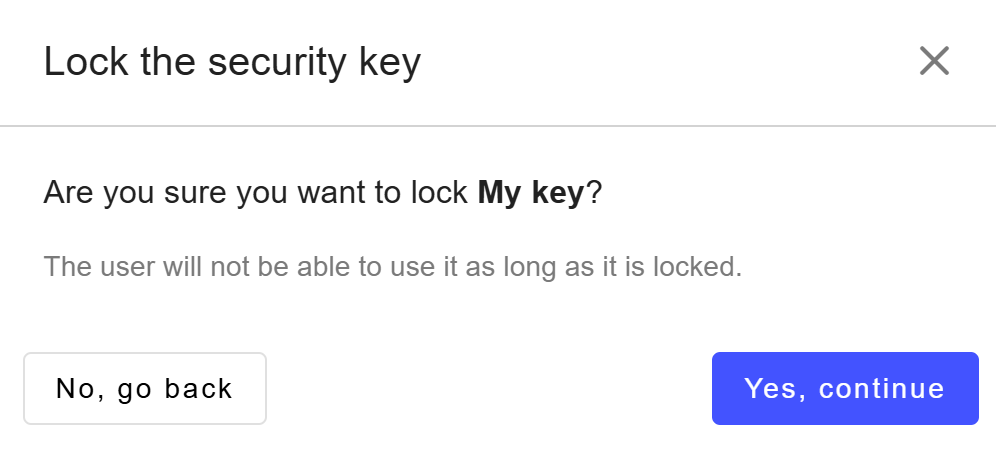
The authentication method is successfully locked or unlocked.
Methods Locked by administrator can only be unlocked by an administrator.
Delete an authentication method
Go to Directory > Users.
Click on the user and go to Authentication methods tab.
Click on the three dots icon of an authentication method.
Select Delete.

Click on Yes, continue to confirm your choice.
The authentication method is successfully deleted.
Generate an enrollment link
Administrators can generate an enrollment link for a user. This link allows the user to activate an authentication method.
To generate an enrollment link:
Go to Directory > Users.
Select the user.
Go to Authentication Methods tab.
Click on Generate an enrollment link at the top-right.
Depending on the enrollment policy, the enrollment link is either sent to the user by email or displayed in a pop-up window to copy and share to user.
Generating a new link automatically replaces the previous one.
Provide a reset code to a user
A user may block their secret code after too many incorrect attempts. They may also forget their secret code. In both cases, they will need a reset code to define a new one.
A user can obtain this reset code by contacting their administrator.
📄 See TrustBuilder Authenticator Settings to manage reset code settings.
In Trustbuilder Admin Portal:
Go to Directory > Users.
Click on the user who needs a reset code.
Go to the Authentication methods tab.
Click on Generate a reset code.
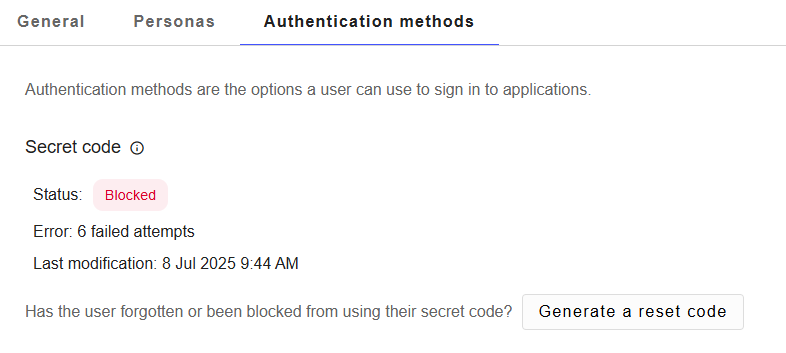
The reset code is generated. It replaces any previously existing one.
You can either share it with the user manually, or it can be automatically sent to the user by email.
📄 See TrustBuilder Authenticator Settings to manage reset code settings.
Users cannot generate a reset code themselves yet from the Self-Service Portal. This feature will be available in a future release.