This documentation guides you to integrate Trustbuilder MFA Service with Salesforce SAML 2.0 authentication.
Phishing-Resistant MFA requirement for Privileged Users
Starting summer 2026, Salesforce requires phishing-resistant authentication for privileged users (admins and users with high privileges).
Salesforce determines whether the authentication is phishing-resistant based on the information included in the SAML assertion sent by TrustBuilder (the IdP).
If you already have an existing Salesforce SAML connector configured in TrustBuilder, update it as follows:
-
In TrustBuilder admin console, go to Secure sites.
-
Edit the existing Salesforce connector.
-
Configure one of the following options:
-
Option 1: in Connector Options, set AuthnContextClassRef to
urn:oasis:names:tc:SAML:2.0:ac:classes:phr. -
Option 2: in SAML Attributes section, add a new attribute
amrwith a static value.
We recommend the following values to be considered phishing-resistant:-
popshowing that the authentication was performed using a possession factor, -
phrstating that the authentication is phishing-resistant.
-
-
For more information, please refer to https://help.salesforce.com/s/articleView?id=005321563&language=en_US&type=1.
Prerequisites
You need to have a domain configured on your Salesforce account. If you don’t have one logon to Salesforce, go to Setup > Company Settings > My Domain and configure your domain.
1. Configure SAML connector in Trustbuilder
Configure a SAML Trust Relationship between Salesforce (Service Provider) and Trustbuilder (Identity Provider). This is done by exchanging metadata between both parties:
-
Login to Trustbuilder MFA administration console.
-
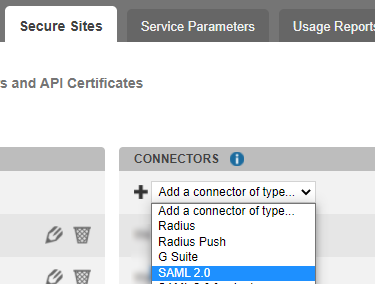
Go to Secure sites tab.
-
In the "connectors” section, click on Add a connector of type… and select SAML 2.0.
-
Name your connector.
-
Click on Add to create the connector.
-
Click on Download IDP SAML 2.0 certificate.
You will get a .crt file.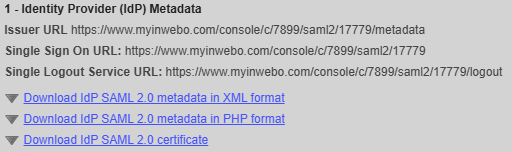
-
Keep this window open.
You will need to come back to copy the metadata URLs and to finalize the connector later.
2. Configure Salesforce SAML
-
Login to your Salesforce console.
-
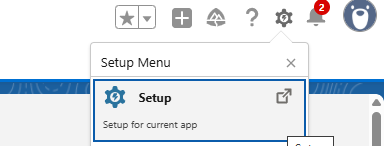
Click the cogwheel icon then Setup.
-
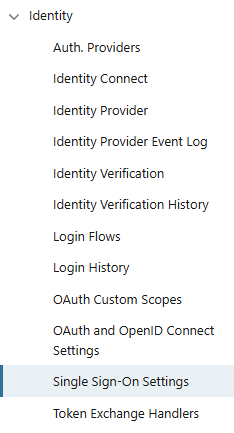
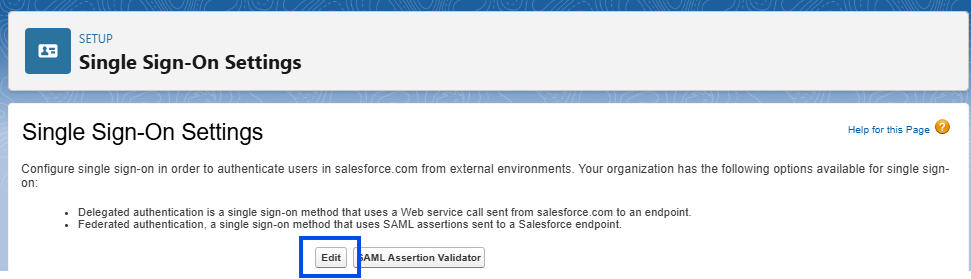
Go to Identity > Single Sign-On Settings.
-
Click on Edit.
-
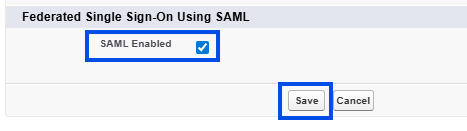
Enable SAML and click Save.
-
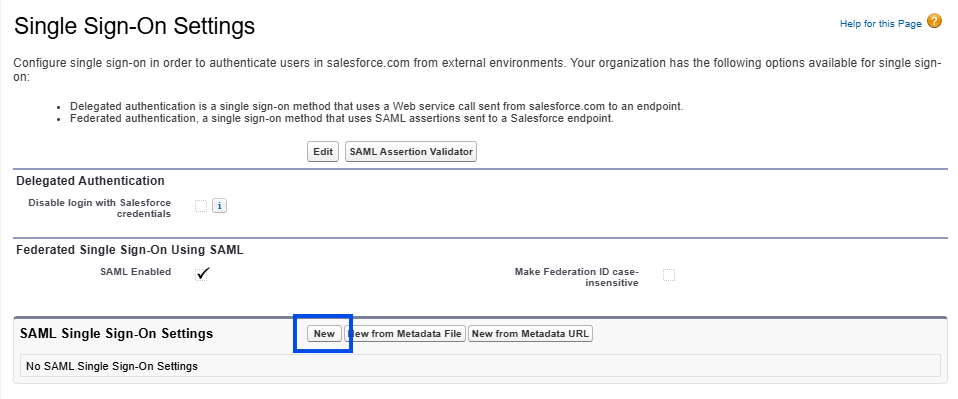
Click on New.
-
Fill in the form:
-
Name: enter a name (e.g Trustbuilder MFA)
-
Issuer: paste the Issuer URL copied from SAML connector in Trustbuilder.
-
Request signature method: select RSA-SHA256.
-
Identity Provider Certificate: upload the IDP SAML 2.0 certificate (.crt) you downloaded previously.
-
Identity Provider Login URL: paste the Single Sign On URL copied from SAML connector in Trustbuilder.
-
Entity Id: Enter your Salesforce domain URL (e.g.
https://thisismydomain-dev-ed.my.salesforce.com). -
SAML Identity Type: choose how Salesforce identify the user:
-
Option 1: if the identifier sent by TrustBuilder matches the Salesforce username, choose Assertion contains the User's Salesforce username.
-
Option 2: if you are using the Federation ID field in Salesforce to map users, choose Assertion contains the Federation ID from the User object. Later you will have to configure the Attribute Name to match the federationId in Trustbuilder connector. See 3. Finalize TrustBuilder SAML connector
-
-
SAML Identity location: choose depending on your configuration.
If you choose Identity is in an Attribute element, provide an Attribute Name and a Name ID Format.
-
-
Click Save.
-
Click on Download Metadata to download Salesforce metadata.
You will need it later in Trustbuilder.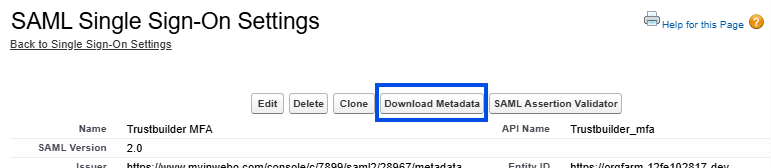
-
Go to Company settings > My Domain.
-
In Authentication Configuration section, click on Edit.
-
For Authentication Service, select the Trustbuilder MFA service that you have just created.
This will show a “Connect with Trustbuilder MFA” button on the notification page.
Leave standard Salesforce authentication enabled (Login Form).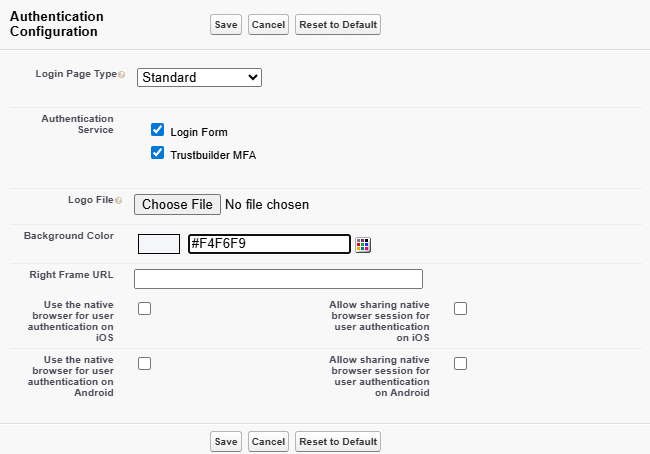
-
Click Save.
3. Finalize TrustBuilder SAML connector
-
From the TrustBuilder admin console, open the previously created SAML 2.0 connector.
-
Open Salesforce metadata file with a text editor.
Copy the entire content and paste the Salesforce metadata into the required field in Trustbuilder.-20260629-090252.png?cb=74df349e7c6ee7de4626c656b13d9748)
-
Click Update.
-
Configure the Connector options and SAML attributes :
-
For Salesforce privileged users, configure one of the following options to indicate phishing-resistant authentication:
-
Set the AuthnContextClassRef to
urn:oasis:names:tc:SAML:2.0:ac:classes:phr
or
-
Add a static
amrSAML attribute with the valuephrorpop
-
-
Set the NameIDFormat to Email address.
-
Set the NameID value to User email.
-
Set other parameters according to your need (more information).
-
-
Click on Update to save the connector.
4. Create a secure site in Trustbuilder
In TrustBuilder MFA admin console:
-
Go to the Secure Sites tab.
-
Click on Add a secure site of type… and select the SAML connector name you previously configured.
-
Set the Called URL to point to your Salesforce domain URL.
-
Leave the default value in Authentication page.
-
Click on Add to create the secure site.
5. Enforce Trustbuilder MFA authentication for users
At this stage, your Salesforce users can log in both:
-
from the standard Salesforce login page (https://login.salesforce.com)
-
via your SSO URL (https://thisismydomain-dev-ed.my.salesforce.com).
You can enforce SSO login to that all users authenticate through TrustBuilder MFA. This prevents users from bypassing your SSO.
To enforce SSO login:
-
Go to Company Settings > My Domain.
-
In My Domain Settings section, click on Edit.
-
Check the following box: Prevent login from https://login.salesforce.com and https://welcome.salesforce.com
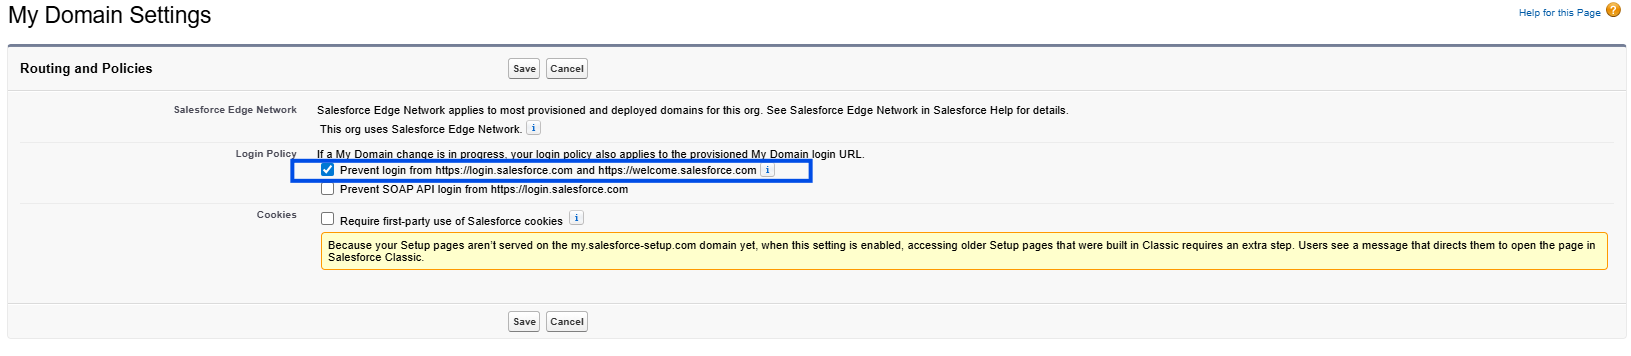
-
Click Save.
Test the configuration
To test the configuration:
-
Go to https://www.myinwebo.com/ and click on the Salesforce SAML secure site.
-
You will be redirected to https://thisismydomain-dev-ed.my.salesforce.com which will be redirected to TrustBuilder MFA SAML login page.
-
Authenticate with Trustbuilder MFA.
-
If authentication is successful, you will be directly connected to Salesforce.