Kyriba Treasury Management - SAML integration
InWebo provides innovative, no-hardware, 100% SaaS, strong authentication solutions for employee and consumer secure transactions.
The purpose of this documentation is to explain how to use InWebo products to protect access to Kyriba treasury software.
Prerequisites
Before you start, please ensure that the following requirements are fulfilled.
An inWebo service with administrator rights (if you don't have any inWebo service yet, you can register for a trial account here).
An administrator access to your Kyriba environment for the implementation.
You should contact Kyriba:
to activate the SSO feature on your Kiriba environment (enabled by default).
to get the SAML Kyriba’s Service Provider (SP) metadata. It is mandatory and provided by Kyriba. You can’t generate it by yourself.
Installation
Step 1: Create a SAML connector on inWebo platform
Login to your inWebo administration console.
Go to the “Secure Sites” tab.
In the "connectors” section, click on “Add a connector of type” and select “SAML 2.0”.
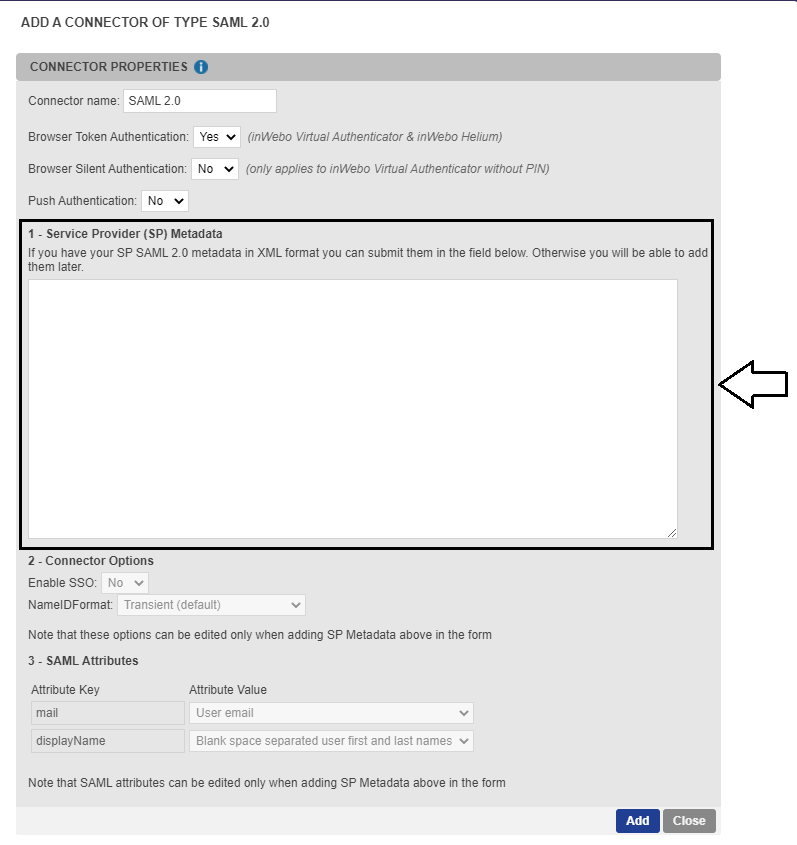
You access the connector properties:
In the “1- Service provider (SP) Metadata” section, paste the SAML Kyriba’s Service Provider (SP) metadata (See “Prerequisites” above).
Click on “Add”.
In the “ 3- Connector Options” section:
set the NameID Format to “unspecified”,
set the NameID value to “User login”.

In the “4- SAML Attributes” section, you should add an additional attribute to provide relevant SAML attributes to Kyriba.
Click on “+” to add attribute and fill in the fields.

The Attribute Key is tenantId ⚠ It is case sensitive → the “I” is capital where other letters are lowercase.
Choose Attribute value Static value and enter the Kyriba “Customer code” (also called Kyriba’s database name) encoded in base64. It is the value you must fill into the Kyriba login page after the Username. You can use this website to encode in base64 your customer code : https://www.base64encode.org/.
In the “1- inWebo Identity Provider (IdP) Metadat”, click on “Download inWebo IdP SAML 2.0 metadata in XML format” to download the inWebo metadata file.
TIP
To offer a better user experience to your users, set the “Push Authentication” setting to Yes. This option enables your user to receive notifications on their mobile or desktop token to automatically generate an OTP.

Click on “Update” to save the settings.
The SAML connector has been successfully created.
Step 2: Create a secure site on inWebo plateform
Login to your inWebo administration console.
Go to the “Secure Sites” tab.
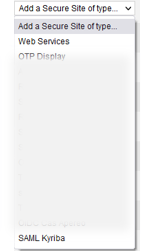
Click on “Add a Secure Site of type” and select the SAML connector name you configured related to your SAML connector for Kyriba.
In the opening window, you set the Called URL to point to your Kyriba internet address. The Called URL setting is only used to set a bookmark for the user on his Myinwebo portal, it has no impact on the security.

Click on “Add” to save the configuration.
The inWebo secure site, related to your SAML connector for Kyriba, has been successfully created.
Step 3: Kyriba configuration
Accessing Profile Setup
Select “ Core data > Admin > Security > Define access profile ”
Open the access profile associated to the Admin user.
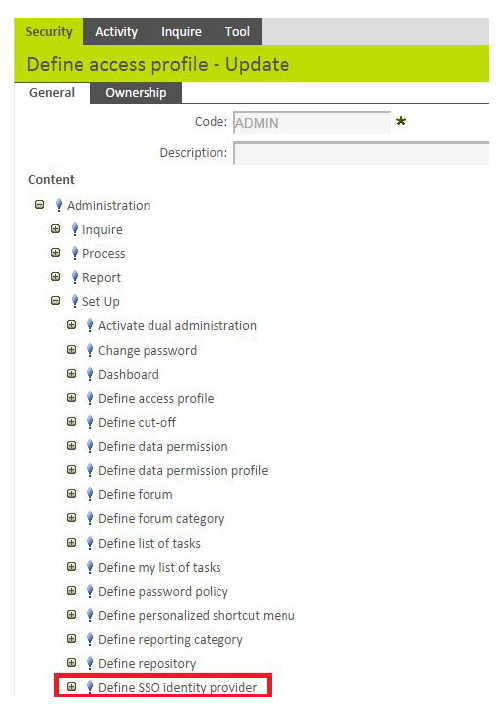
Unfold the “ Content ” tree, “ Administration->Set up ” and double click “ Define SSO Identity provider ”.
Assigning an SSO Identity to Users Who Use SSO
Select “ Core data > Admin > Security > Define user ”
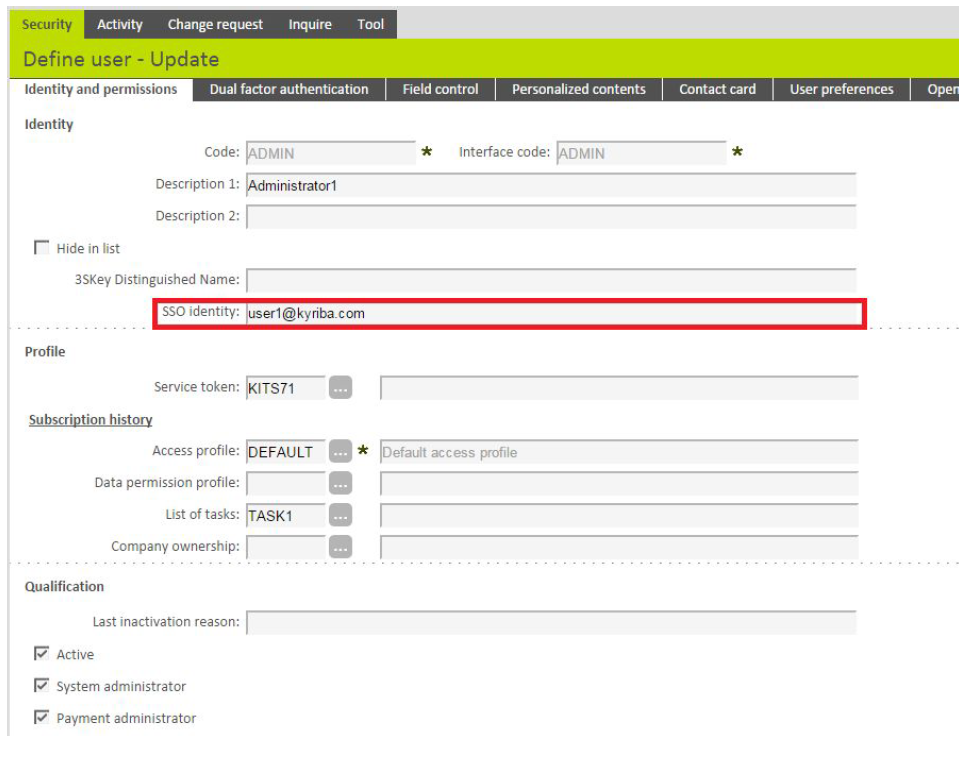
Set the “SSO identity” parameter.
The “SSO identity” must match against the “login” field of your user into the inWebo Admin console.
Technically, the content of the field must match the value that inWebo returns into the NameID attribute in the SAML response (called “login field” in that documentation).
Setting up an Identity Provider (IdP)
Select “ Core data > Admin > Security > Define SSO identity provider ”. Note that SSO can be configured for certain users and not for other users.

Creating an Identity Provider
Click the “ + Add ” button or go to “ Menu > Add ”. The following screen is displayed:
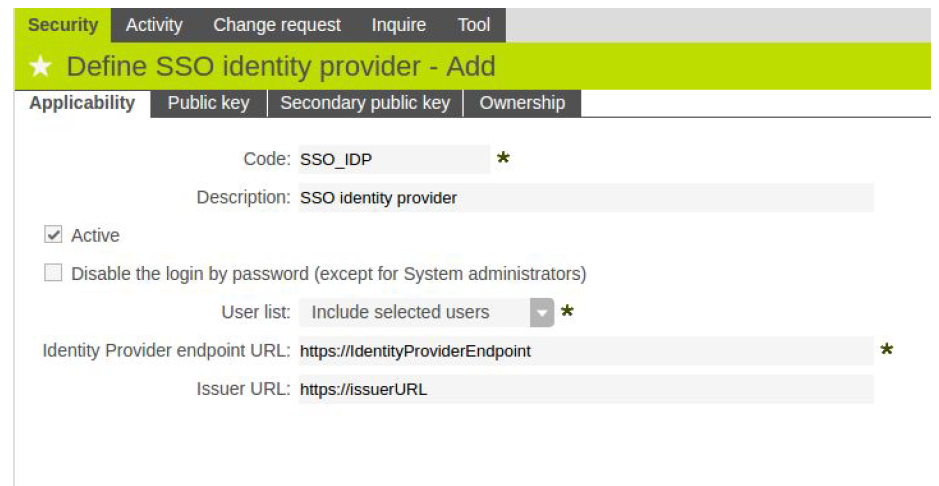
Fill in fields, with the following parameters:
Field | Description & comment |
Code | Enter the Code that uniquely identifies the IdP within Kyriba |
Description | Enter the Description of the Identity provider. |
Active | Select this option to mark the set-up as active. It allows quickly de-activating, re-activating the inWebo MFA |
Disallow login by password (except of System Administrators) | Select this option to forbid the login by password (only SSO login will be authorized for the users). This setup applies to all users (or group of users) associated to the IdP, except of System administrators. |
User list | Select whether the user list represents the Users to include in SSO or to exclude from SSO. |
Identity Provider | Enter the URL of the Identity provider. It must be the SAML 2.0 Post binding URL of the Here you need to copy / past the URL Single Sign On provided by the inWebo SAML connector |
Issuer URL | Enter the issuer URL.N ote : In the case of Identity Provider initiated SSO, this field is Here you need to copy / past the URL Issuer provided by the inWebo SAML connector |
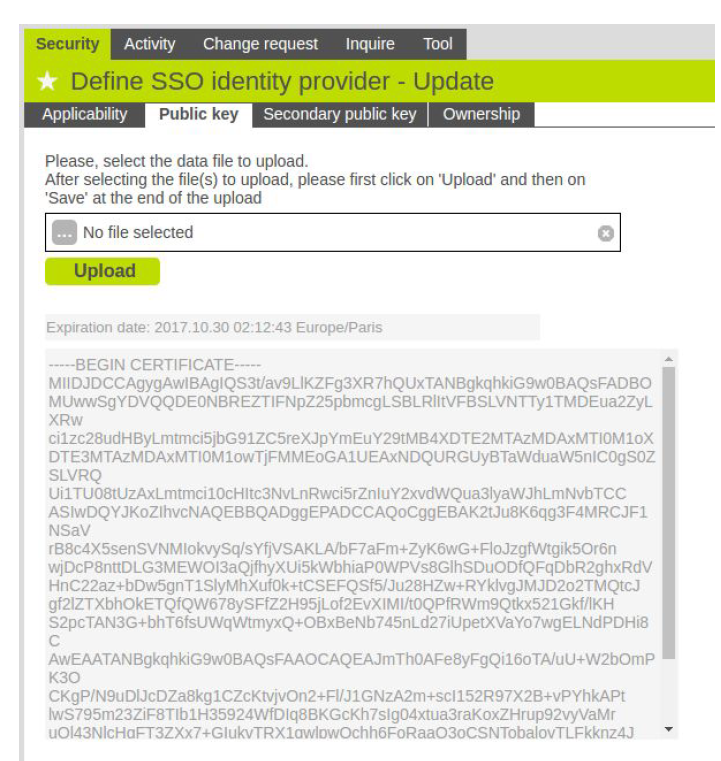
Public Key | Upload the certificate provided by the inWebo SAML connector but you need to convert it in a DER format (binary) . The public key will be used to ensure that the SAML response is signed using the expected certificate. |
To upload the certificate, go to the “Public key” tab and select the certificate file (in binary format). Click on “Upload”.
After creating the Identity provider, right click on it and select “ Define the user list ”

The list of Users and/or User groups associated to the Identity provider is displayed.
Authenticating in Kyriba using SSO
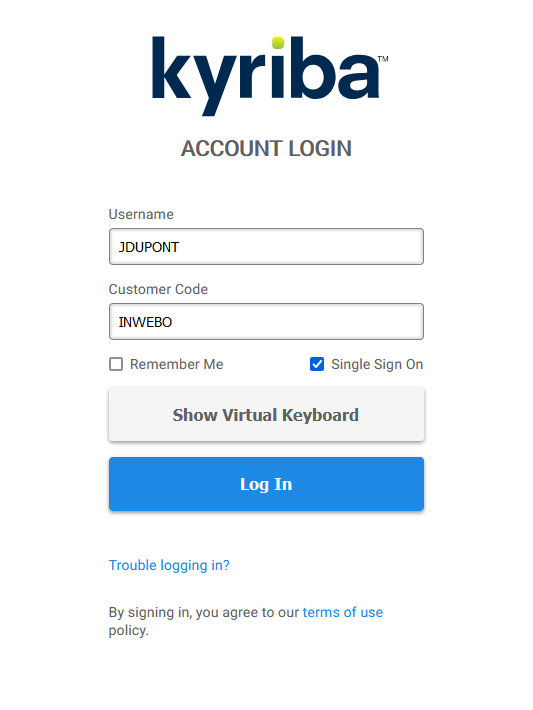
Kyriba application has two different login pages, with or without SSO. To access the SSO login page, ensure the SSO
parameter is present in the URL as follows: https:// {platform} .treasury-factory.com/ SSO
Fields User code and Customer code are required to login with SSO. Click on “Login with SSO” button to login with
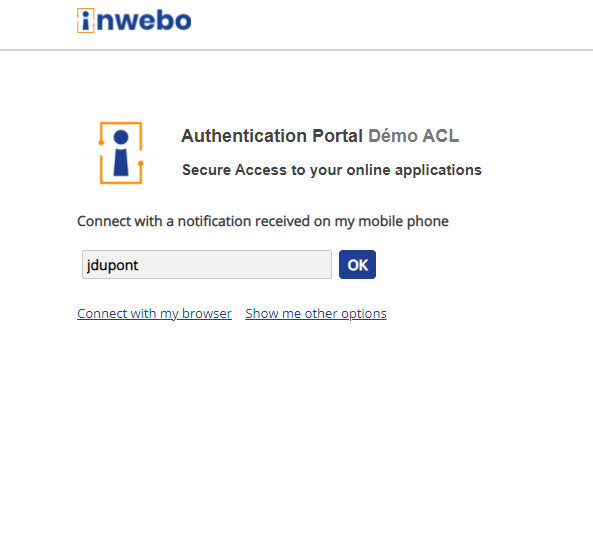
SSO. Here is the authentication flow:
Internally, a redirection to inWebo is performed; then the MFA authentication is performed on customer
side.Kyriba then receives all the information from inWebo that is required to identify the user and to
create a session ;The access to the Kyriba portal is now transparent for the user.
Kyriba password configuration
Login with SSO is optional for a user for whom SSO is configured, unless it is disabled in the SSO configuration. It
means that both SSO and authentication by password are possible.
If the the login by password is disabled in the Kyriba password configuration, then the users must use SSO to authenticate (except for
System administrators who will always have the ability to authenticate by password).

