Creating Rules and Policies
This tutorial shows you how to create policies and rules in TrustBuilder.io.
TrustBuilder rules and policies allow for a flexible and powerful mechanism for specifying access control decisions.
Policies provide a high-level view of the access control requirements for a particular resource.
Rules provide a more detailed view of the access control requirements for a particular request.
For more information, please see Defining Security Policies
To create rules and policies, you should login to the Admin Portal as administrator.
Known limitation
The rule must be defined first. In a later release it will be possible to create a rule when creating a policy.
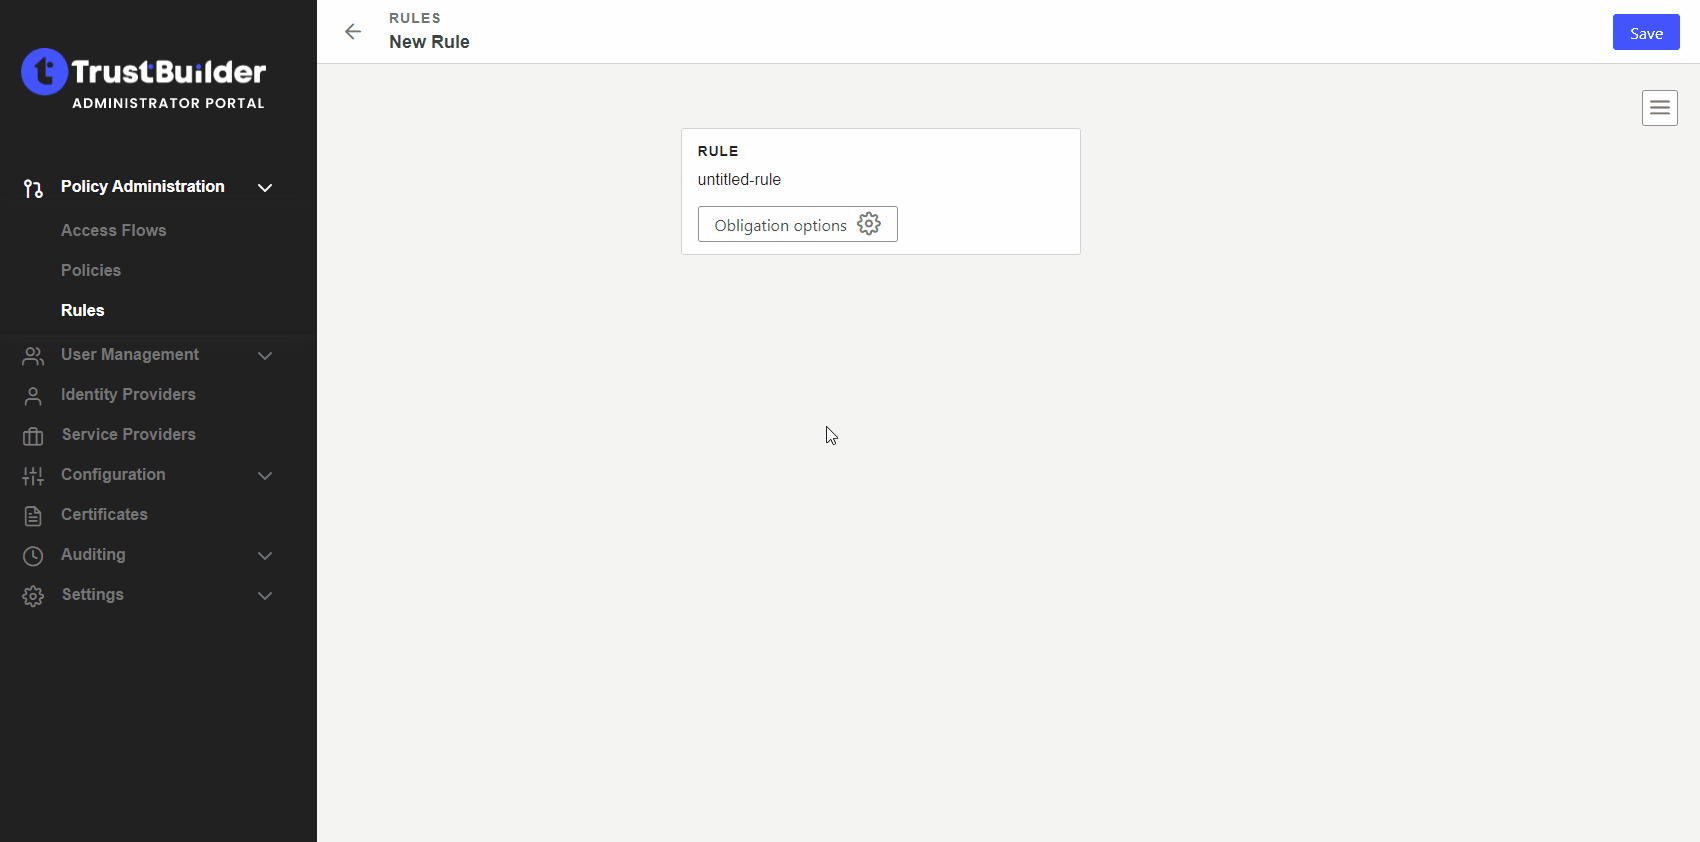
Create a rule
To create a rule:
Go into Access Management > Rules > + Add Rule
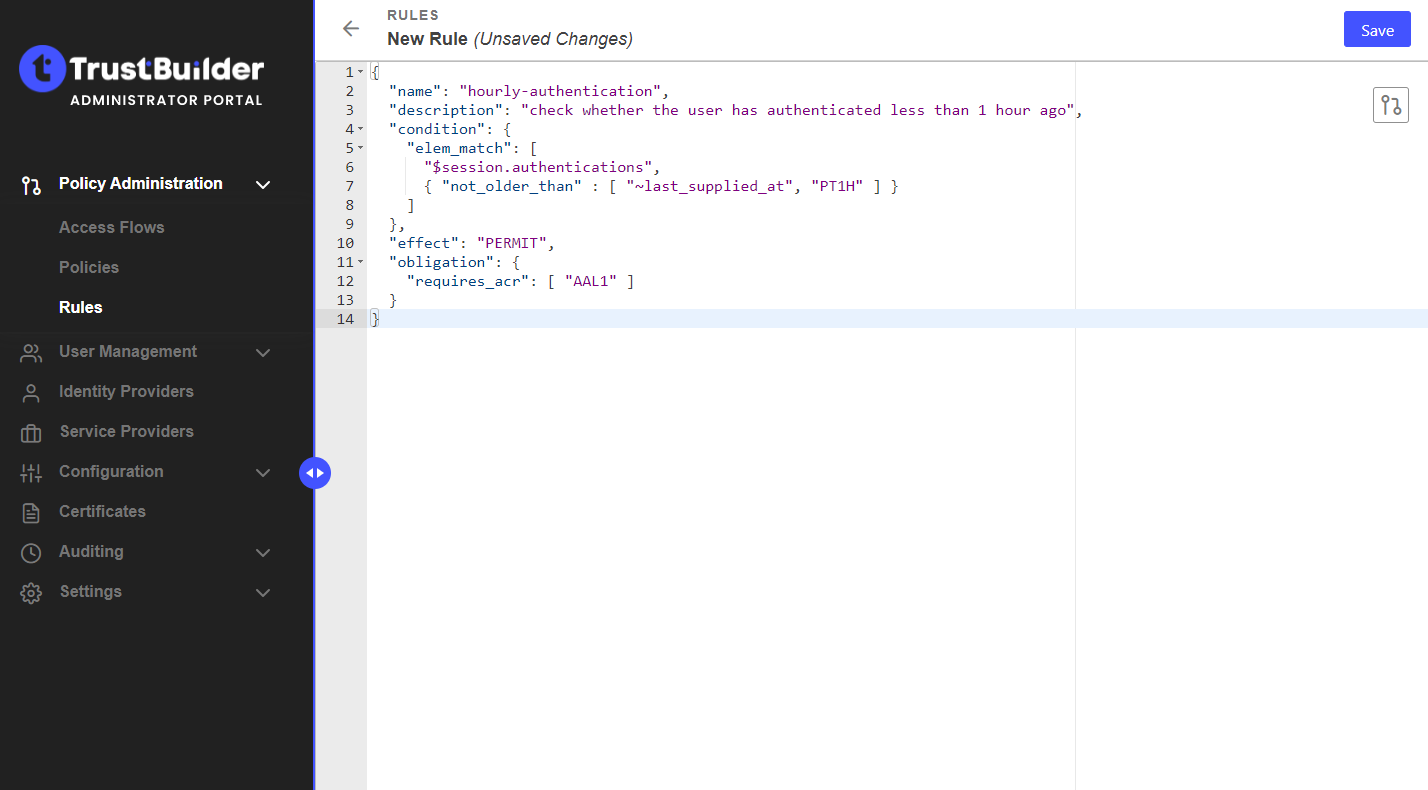
Click on the three lines icon in the top right corner to get a JSON view.
Enter your rule. For this example, you can copy & paste the following rule:
CODE{ "name": "hourly-authentication", "description": "check whether the user has authenticated less than 1 hour ago", "condition": { "elem_match": [ "$session.authentications", { "not_older_than" : [ "~last_supplied_at", "PT1H" ] } ] }, "effect": "PERMIT", "obligation": { "requires_acr": [ "AAL1" ] } }In plain English, this rule actually means: “If the session of the user contains an authentication that is not older than 1 hour, return a permit; if not, return an obligation to ask the user to re-authenticate.”
Ensure that the name of the rule does not contain spaces.
The period
PT1Hmeans "1 hour" according to ISO 8601. Other possibilities includePT2M(2 minutes),PT30S(30 seconds),P5D(5 days),P1Y(1 year), etc.The rule in this example uses the the
$sessions.authenticationsattribute of the session state. This is an array with the latest values of theacrandlast_supplied_atof all types of authentications done by the user during this session.The rule in this example also uses the
elem_matchoperator: this operators looks in an array (the first operand) and tries to find the first element that meets the criteria (the expression in the second operand). In case such element is found, the result isTRUEelse it will beFALSE.The obligation in a rule is returned to the client application in case the condition is not met. In this case, it asks to request the user to provide a new authentication with an IDP that has the assurance level
AAL1.
Click on Save.
Well done! Your first rule is saved. It should appear in the rules list.
Now, you should create a policy and add the rule in this policy.
Create a policy
To create a policy:
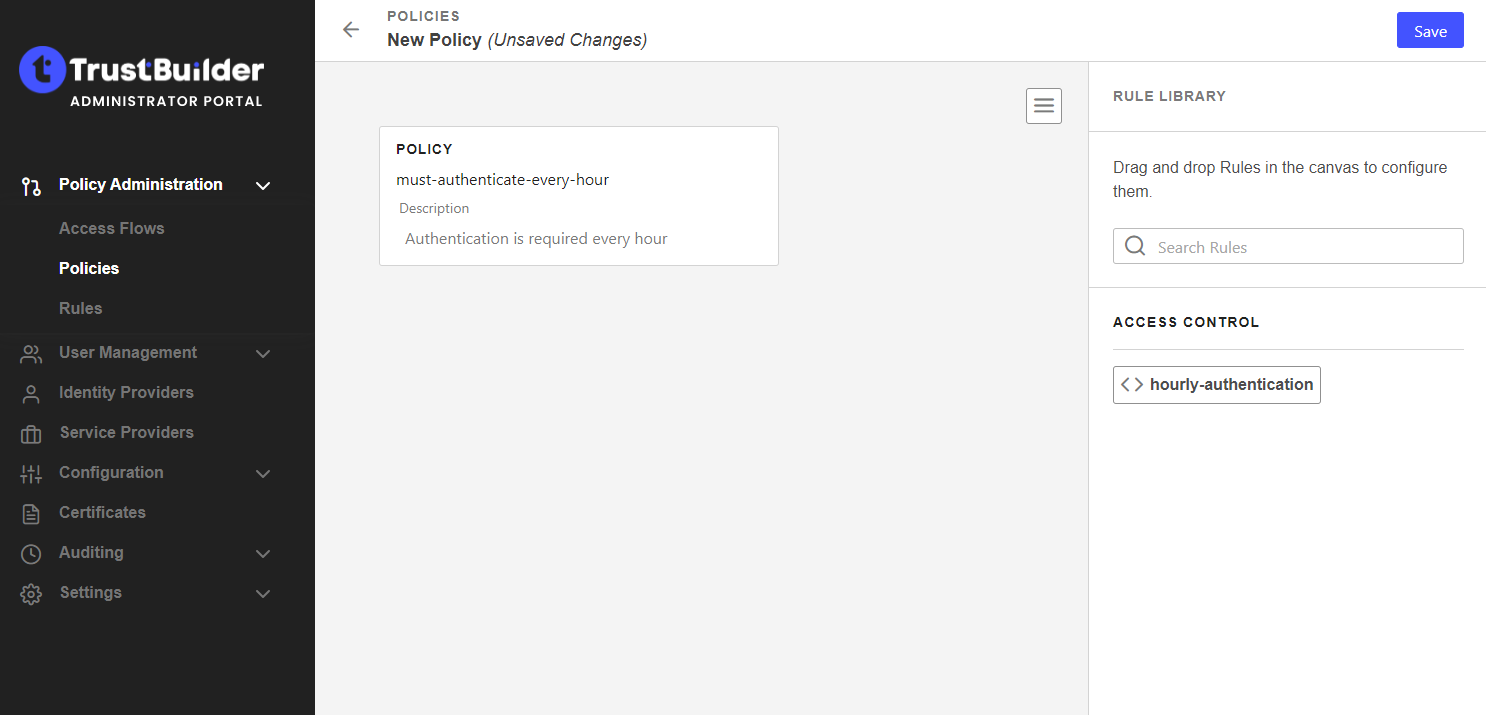
Go into Access Management > Policies > + Add Policy
Enter a name for your policy (without spaces) and a description.
You can click on the three lines icon in the top right corner to get a JSON view.
Drag and drop your rule to the policy.
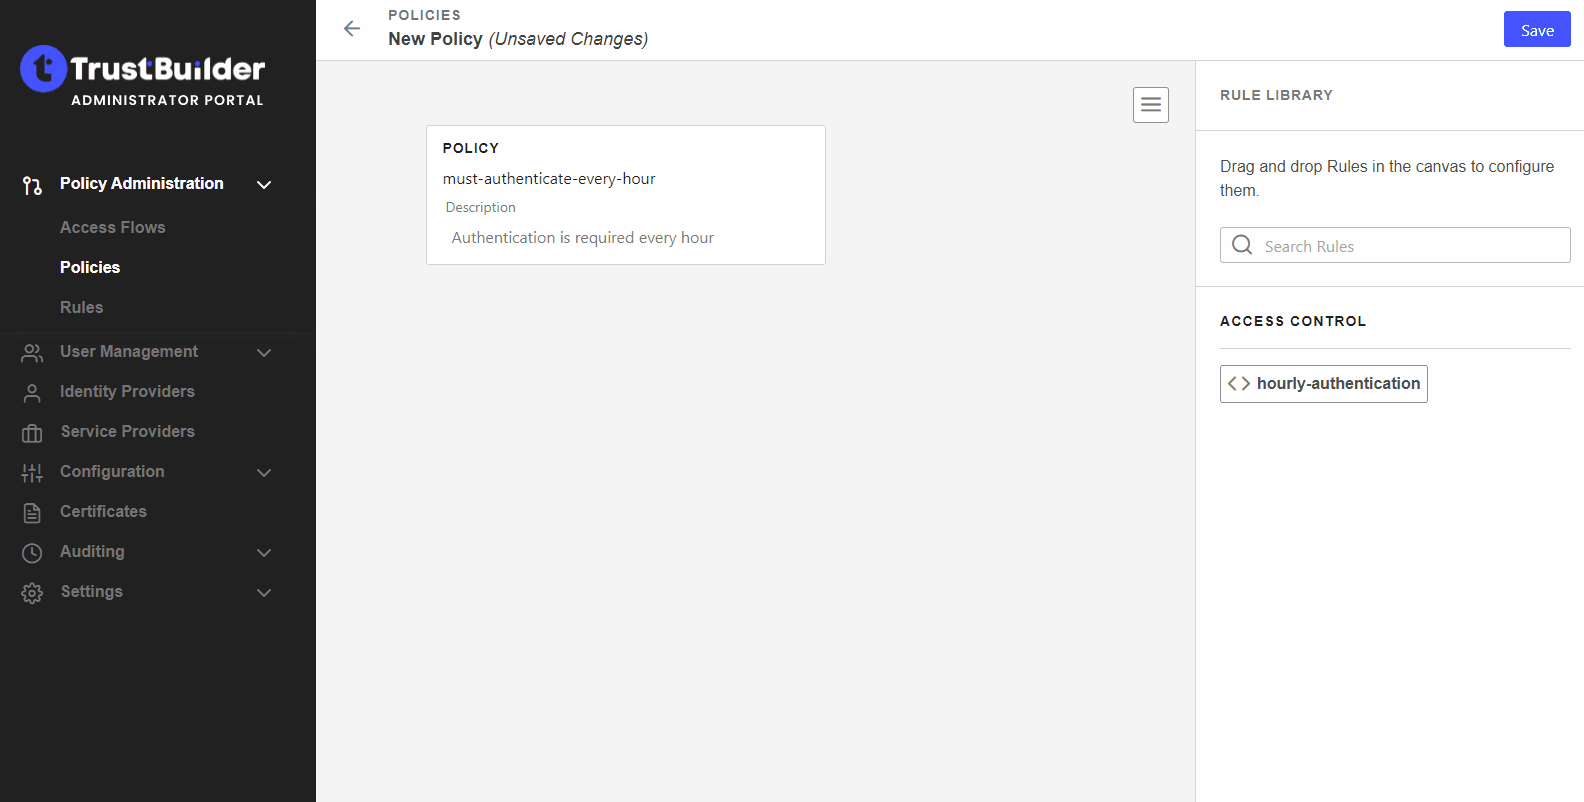
You can add as many rules as needed to a policy. You can arrange them in any order you want to apply a priority.
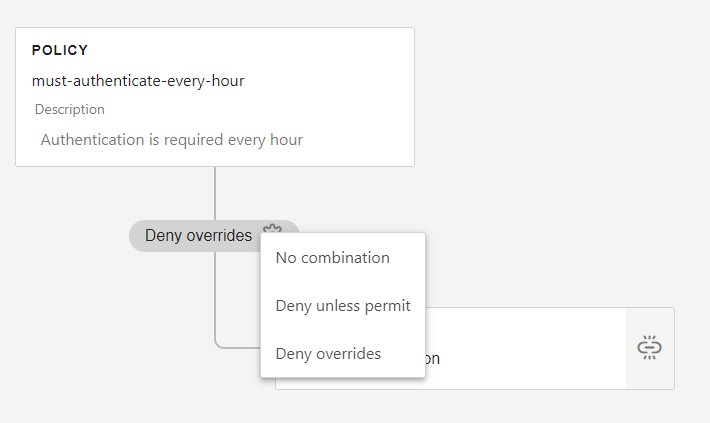
Click the gear icon to select the combination (more information).
Click on Save.
Well done! You created your first policy. It should appear in the policies list.